
close
Choose Your Site
Global
Social Media
Views: 0 Author: Site Editor Publish Time: 2025-11-11 Origin: Site
You need to know each step in the manufacturing process of making custom optical prisms. This helps you see how they become high quality. The manufacturing process of optical prisms takes skill and careful work. People use different optical prisms in many areas. They work well because they meet strict optical rules. Every step in the manufacturing process of making prisms needs to be exact. You shape the glass blank and polish it to make it clear. Each step adds to the last one. This helps make prisms that work right. You count on these steps in the manufacturing process to get the best prisms.
It is important to design custom optical prisms carefully. Pick materials that fit the job and have good optical properties.
The manufacturing process needs tight controls. Workers check the prism often to make sure it is high quality and works well.
Grinding and polishing are very important steps. These steps shape the prism and make it clear. Doing them right stops problems and keeps the prism working well.
Quality control is needed at every step. Workers look at the surface and test the prism to find any problems before shipping.
Prisms need strong packaging for shipping. Good packing keeps prisms safe and helps them arrive without damage.
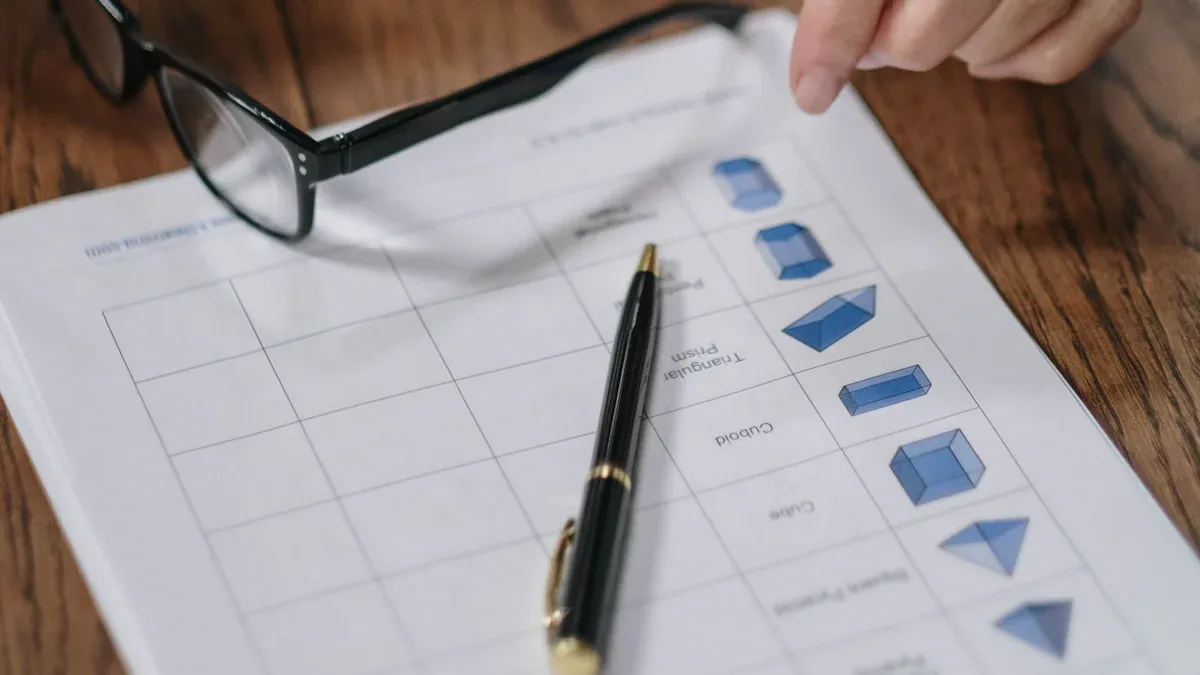
Image Source: pexels
You begin by finding out what the prism needs. You check its size, shape, and what it will do. You also think about where you will use the prism. Some prisms work with lasers. Others help with pictures or science tests. You pick the best material for the job. You might use fused silica, filter glass, or quartz. Each material changes how light goes through the prism.
Here is a table that shows common design details for custom optical prisms:
| Specification | Detail |
|---|---|
| Dimensional range | 0.3mm to 300mm |
| Dimensional tolerances | +/- 0.1mm (normal) or +/-0.05mm |
| Surface flatness | up to Lambda /10 |
| Surface quality | S&D 40/20 |
| Angle tolerance | up to +/- 1 arcmin |
You use these details to make sure the prism fits and works in your system.
You make drawings that show every part of the prism. These drawings follow rules like ISO 10110. This rule helps people talk about optical parts in the same way. It stops mistakes and helps everyone know the design. You add things like angles, surfaces, and coatings to the drawings.
| Standard | Description |
|---|---|
| ISO 10110 | A group of world rules for optical parts and systems. These rules help people be clear and use the same words for optical details. |
Tip: Always check your drawings use the newest rules. This step helps you stop mistakes when making the prism.
You check tolerances before you go to the next step. Tolerances show how much each part can be different from the plan. For very exact prisms, you may need angle tolerances less than 1 second of arc. You may also need surface flatness less than lambda/20. These small tolerances help the prism work well in hard jobs. If you set the right tolerances, you help the process go well and get a good prism.
You need to pick the right material before you start the manufacturing process. The material you choose changes how the optical prism works. Some materials work better for certain jobs. Here are some of the most common choices:
BK7 Crown Glass: You use this for general-purpose optical prism applications.
Fused Silica: This works well for UV light and high-precision jobs.
SF11 Flint Glass: You pick this when you need high-dispersion in your prism.
Specialized Crystals: These help you control polarization in special optical systems.
Each material has its own strengths. You must match the material to the job so the prism meets your needs.
You always need to think about how you will use the prism. The application tells you which substrate to choose. Some prisms must send UV light through. Others need to work in tough places, like high heat or moisture. Each substrate has its own optical features. These include how much light it lets through and how it bends light. You must make sure the substrate fits your application. If you do not, the prism may not work as you want.
Note: Always check the tolerances for your application. Some jobs need very tight tolerances to work right.
You want high-quality substrates for your optical prism. Many trusted companies make these. For example:
Clear Align makes many shapes, like wedges and filters, for UV to NIR uses. They offer coatings that help light pass through and keep the surface clean.
Avantier Inc. gives you fused silica, filter glass, Infrared, Silicon, and ZnSe. They also offer coatings for different needs.
PFG Optics makes high-precision prisms, such as right angle and pentaprisms. They focus on flatness, angle, and surface quality.
You should pick a supplier who meets your needs for quality and performance. Good sourcing helps your manufacturing go smoothly and gives you the best results.
You begin by cutting a block of optical material. This block comes from the substrate you picked. You use a diamond saw or a wire saw. These tools make clean cuts and help save material. You cut the block a bit bigger than the prism needs to be. The extra size lets you shape and polish it later. The first cut is very important for the whole process. If you make a mistake, you might not get the right tolerances.
After cutting, you start shaping the block. You use grinding wheels or CNC machines for this. You make the block look like a rough prism. You try to get the main angles and faces right. This step gets the prism ready for more careful work. You keep the surfaces flat and the angles close to the plan. If you hurry, you can damage the material or make chips. Careful shaping helps you avoid problems later. You check the prism often to see if it matches the plan.
You must check the prism’s size at every stage. Good measurements help you stay within the tolerances. You use different tools for this job:
Calipers measure the distance between two sides.
Micrometers give very exact measurements for small parts.
Coordinate Measuring Machines (CMMs) use a probe to check the shape in three ways.
Optical comparators show a bigger image for close inspection.
Laser scanners and 3D scanners quickly check the shape and size.
Gauges help you see if the prism meets certain sizes.
Form measuring machines check the shape and make sure you meet the tolerances.
Tip: Always check your measurements before you go to the next step. This helps you find mistakes early and keeps your prism within the right specifications.
Grinding is an important part of making an optical prism. You use grinding to shape the prism before polishing. This step helps you get the right size and angles. It also improves the surface quality. Grinding takes away marks left from cutting. It gets the surface ready for the next steps. If you do not grind carefully, the prism may not be precise enough for optical use.
You begin with coarse grinding. You use a grinding wheel with rough grit. This wheel removes extra material from the prism fast. You shape the prism closer to its final look. Coarse grinding helps fix mistakes from cutting. You make sure the prism has the right angles and flat sides. You need to check the prism often during this step. If you grind too much, you can hurt the prism or make it too small.
Use a rough wheel to take off material quickly.
Shape the prism to match the plan.
Check the size and angles as you work.
Tip: Keep the prism cool while grinding. Too much heat can crack the optical material.
After coarse grinding, you do fine grinding. You use a wheel with finer grit for this step. Fine grinding makes the surface smoother. It brings the prism even closer to its final size. This step removes small scratches and chips from coarse grinding. You also get the surface ready for polishing. Fine grinding is slower, but you have better control over the shape and size.
Use a fine-grit wheel to smooth the surface.
Remove small marks and chips.
Get the prism ready for polishing.
Fine grinding and polishing work together to make the prism clear and smooth. You need both steps to make sure the prism meets high standards.
You must control the angles and flatness during grinding. These features are very important for optical prisms. If the angles are wrong, the prism will not bend light right. If the surfaces are not flat, the prism will not work well.
You use special tools and machines to check these features:
Autocollimators help you measure angle tolerance. They use light to check if the angles are correct.
Advanced rotary surface grinders give you better control. These machines have sensors and controls for high precision.
You check flatness and angles at each step to match the design.
Angle tolerance is important for prisms. It helps them line up and work right.
You measure angle tolerance with an autocollimator. It uses light to measure angles.
Angle tolerance is part of optical tolerances. These include size and flatness. They all help make the prism precise.
Advanced rotary surface grinders help the grinding process. They give more control and reduce mistakes.
These grinders have sensors and controls. They help grind to tight size tolerances.
Grinding tries to stop damage and edge chips. This is important for good optical quality.
Note: Good grinding gets the prism ready for polishing. If you control angles and flatness now, you will have less work later.
Grinding is not just for shaping the prism. You also protect the optical quality by stopping chips and cracks. Careful grinding helps you make prisms that meet strict standards. When you finish this step, your prism is ready for polishing.

Image Source: pexels
After grinding, you polish the prism. This step makes the surface clear and smooth. There are different ways to polish a prism. Each way works best for certain needs. Here is a table that shows some good polishing methods for optical prisms:
| Polishing Method | Description | Key Features |
|---|---|---|
| Bonnet Polishing | Uses a spinning rubber membrane to fit the surface. | Removal rate depends on tool, slurry, time, speed, and pressure. |
| Fluid Jet Polishing | Shoots abrasive slurry at high pressure to remove material. | Removal rate depends on medium and pressure. |
| Ion Beam Figuring | Hits the surface with ions to remove material. | Makes very smooth surfaces with nano-precision; used to fix mistakes. |
| High-Intensity Laser Beam | Melts and removes the top layer to make it better. | Gives high-precision finish; does not make waste; equipment can cost a lot. |
| Magnetorheological Finishing | Uses special fluids and magnets to remove material exactly. | Makes very accurate shapes; works for many sizes and shapes. |
You pick the method based on the prism type, how smooth you want it, and how exact it must be.
You want the prism to be very clear. Polishing removes tiny scratches and marks from grinding. You use fine abrasives and work carefully for a smooth finish. This helps light go through the prism with little loss or change. You check for haze, streaks, or other problems. Good polishing gets the prism ready for high-performance systems.
Tip: Keep the surface clean while polishing. Dust or grit can scratch the prism and make it less clear.
You need to check the surface after polishing. This makes sure the prism meets strict quality rules. You use different ways to inspect:
Visual inspection lets you see scratches, chips, or other problems.
Atomic Force Microscopy (AFM) gives very close images of the surface.
Optical profilometry uses light to measure the surface shape fast.
Scanning Electron Microscopy (SEM) shows detailed images for finding defects.
Interferometry checks surface height changes using light waves.
Tools like TopMap Micro.View® measure and check surfaces without touching them.
You use these tools to make sure the prism is ready for the next step. Careful inspection helps the prism work well in its final use.
You want your prism to be safe and easy to use. Sanding and chamfering help remove sharp edges from the prism. This stops chips and cracks from forming. It also keeps you and others from getting cut when you touch the prism. You use fine abrasives to make the edges smooth. Chamfering adds a small slanted surface to the edge. This makes the prism stronger and less likely to break. You check every edge to make sure it feels smooth and safe.
After sanding, you need to clean the prism. Cleaning gets rid of dust and dirt. Clean surfaces help the optical prism work better. You can do these steps:
Blow away loose dust with compressed air.
Wipe the prism with a soft lens tissue or microfiber cloth. This picks up dust without scratching the prism.
For fingerprints or tough spots, use a little isopropyl alcohol or methanol. Do not use acetone if your prism has plastic mounts.
Try the drop-and-drag method. Put a drop of solvent on the prism, then gently drag a clean tissue across to lift dirt.
For hard-to-remove dirt, use ultrasonic cleaning. Be careful, because this can be too strong for delicate prisms.
Tip: Always wear clean gloves when you handle the prism. This helps keep new dirt off the prism.
You must check the prism before it leaves the factory. This step makes sure the prism meets all quality rules. You use different ways to look for problems:
| Inspection Technique | Description |
|---|---|
| Optical Prism Testing | Checks how light goes through the prism. |
| Light Interaction Analysis | Finds cracks or holes by watching light bend. |
| Advanced Imaging Equipment | Uses special cameras to find tiny problems. |
You also look at important reports:
| Type of Report | Description |
|---|---|
| Inspection Reports | Lists the checks done on your prisms. |
| Interferograms | Shows pictures of wavefront errors. |
| Certifications | Proves your prisms meet industry standards. |
| 100% Inspection | Confirms every prism was checked. |
Final inspection helps you know your prism will work well.
You can make your prism work better by adding coatings. Each coating helps your prism in a different way. Here are some coatings you might use:
Anti-Reflective Coatings: These coatings cut down reflections a lot. They let more light go through your prism. This helps with pictures and lasers.
Reflective Coatings: If you want your prism to bounce light, use aluminum or silver. Aluminum bounces most light. Silver bounces even more in some places.
Polarizing Coatings: These coatings help control how light moves. You can use them instead of polarizing prisms sometimes.
Transparent Conductive Coatings: These coatings let light pass but also carry electricity. You might use them to block EMI.
DLC (Diamond-Like Carbon) Coatings: These coatings make your prism strong. They stop scratches and rust.
Radiation-Hardened Coatings: If your prism goes to space or tough places, these coatings protect it from UV and gamma rays.
Tip: Picking the right coating helps your prism last longer and work better.
You need special ways to put coatings on your prism. The way you choose changes how tough and smooth the coating is.
| Deposition Method | Description |
|---|---|
| Physical Vapor Deposition (PVD) | You heat up the coating in a vacuum. The coating turns to vapor and lands on the prism. This includes thermal evaporation and sputtering. |
| Chemical Vapor Deposition (CVD) | You use chemicals to make thin films from gases. This way is for special coatings. |
Thermal evaporation is used most for strong prism coatings. If you add ions, the coating gets thicker and lasts longer. Ion-beam sputtering is another good way. It makes thin, even coatings for hard jobs. For the hardest jobs, you might use plasma reactive sputtering. This way is not common for regular prisms.
You need to check your prism after you add coatings. This makes sure your prism is good and lasts a long time. Here are ways to check coating quality:
Test anti-reflective coatings to see if they cut reflections and let more light through.
Use dielectric coatings to control light color, especially for lasers.
Check mirror coatings to see if they bounce light well.
Look at the coating to see if it is even and has no problems.
Use ion-assisted deposition to help coatings stick and last longer.
Try atomic layer deposition for very thin and exact coatings.
Note: Careful checking and testing help you know your prism will work well in any optical system.
You must keep each prism safe when shipping. Good packaging stops scratches, water, and bumps. Thermoformed plastic trays are great for this. These trays block scratches and keep out water. They also protect the prism from drops and hits. The trays have anti-static parts. This stops static electricity from hurting your prism.
Here is a table that shows why these trays are a good pick for your optical prism:
| Feature | Description |
|---|---|
| Protection Against Scratches | Thermoformed trays keep the prism surface safe from scratches. |
| Moisture Resistance | The trays block moisture, so your prism stays dry. |
| Impact Resistance | The material absorbs shocks and protects the prism from drops. |
| Anti-Static Properties | The trays stop static electricity from damaging your prism. |
| Custom Design | Each tray fits your prism exactly, so it does not move around. |
| Lightweight Materials | The trays are light, so shipping is easier and cheaper. |
| Visual Inspection | You can see your prism without opening the package. |
| ESD Protection | The trays use materials that protect against static discharge. |
| Material Variety | You can choose trays made from PETG and other safe materials for optical components. |
Tip: Always wear clean gloves and use static-free wipes before you pack your prism.
You want your prism to get there without damage. Follow these steps to get your prism ready for shipping:
Clean your prism until it is very clean. Use the right cleaning steps for optical parts.
Use lint-free and static-free wipes and gloves. Put the prism in foam inserts for extra safety.
Place the prism in the package. Fill empty spots with soft stuff so the prism does not move.
For sensitive prisms, add desiccants to soak up water. Use climate-controlled boxes if you need them.
Mark the package as “FRAGILE.” Add instructions and all needed papers.
You keep your optical prism safe when you do each step. Careful packing and shipping help your prism arrive ready to use.
Every step in making an optical prism is important. Each part of the process helps the prism work well. You need to be exact so the prism can control light. Grinding, polishing, and coating make the surface smooth. These steps also keep the size right. Quality checks help you find and fix problems. People use special tools and careful work to check for mistakes. This makes sure the prism works in any optical system. Your skill and focus help make strong custom optical prisms.
You must pay close attention to grinding and polishing. These steps set the final shape and surface quality. If you skip careful work here, your prism will not meet optical standards.
You look at your application first. Some jobs need UV light, others need high strength. You match the material’s optical properties to your needs. Common choices include BK7, fused silica, and special crystals.
You can fix small chips or scratches by re-polishing. Deep cracks or broken prisms usually need replacement. Always inspect your prism before use.
Tip: Handle prisms with gloves and store them in protective trays to avoid damage.
You add coatings to improve how light moves through or reflects off the prism. Coatings can reduce glare, boost transmission, or protect the surface. You pick the coating based on your system’s needs.


